A practical, non-technical walkthrough for beginners who want to create and preview personalized mugs using modern mockup tools.
Introduction
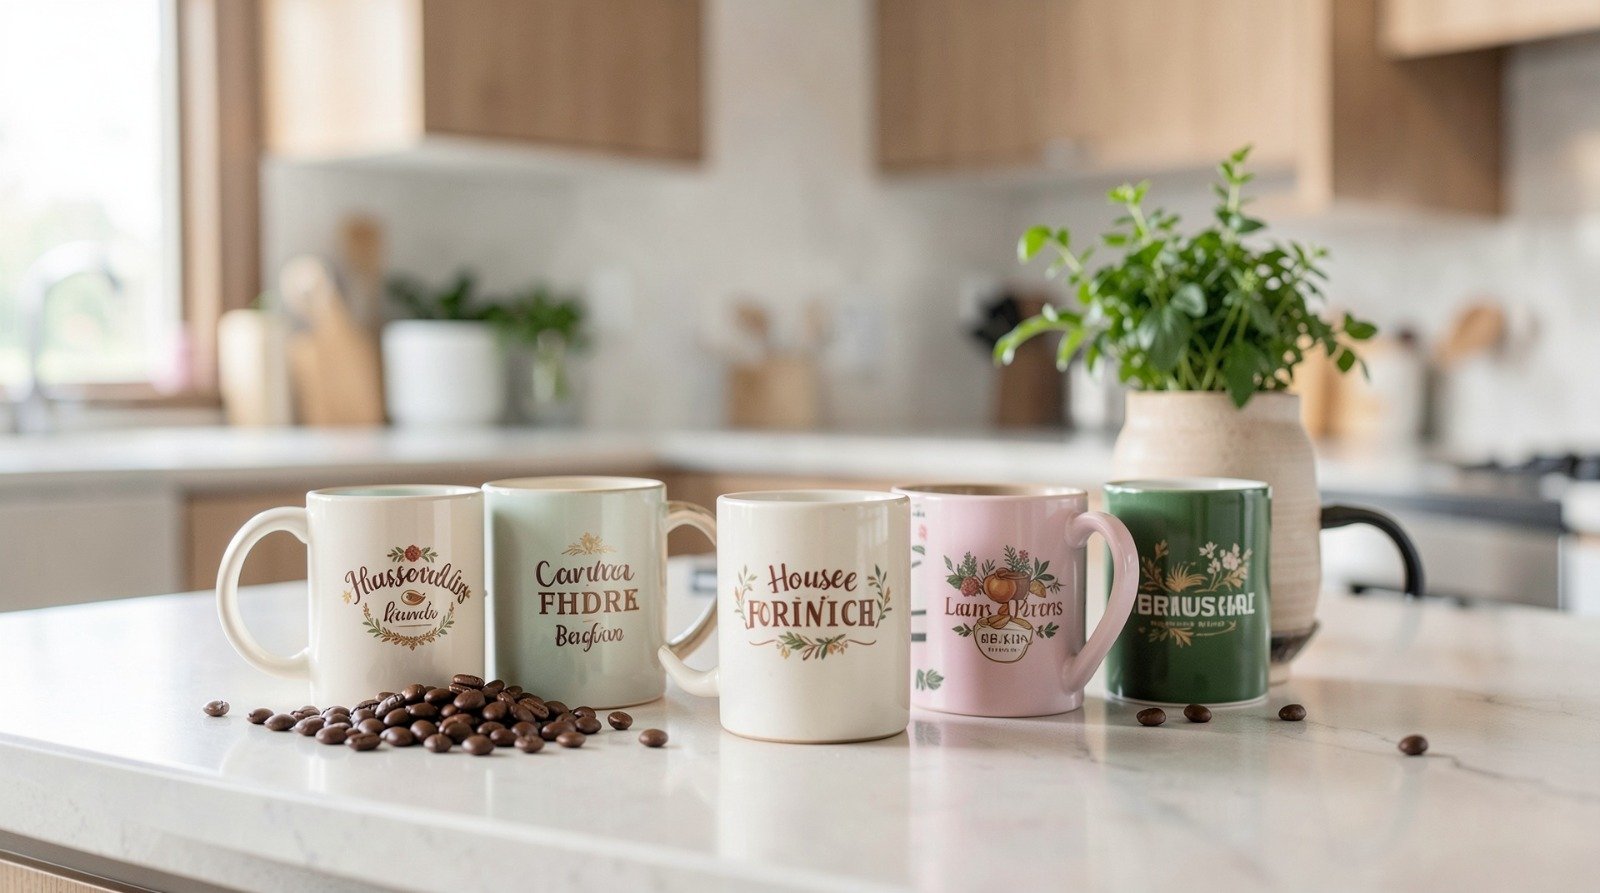
A housewarming gift works best when it is both useful and personal. Custom mugs strike that balance: they are practical, easy to tailor to the recipient, and simple to produce on short timelines.
In 2026, mug mockup generators have removed most of the technical barriers that once required professional design software. These tools provide preset templates, drag-and-drop layouts, and real-time previews that simulate how artwork wraps around curved surfaces. For someone without design experience, that structure matters more than artistic skill.
Among beginner-friendly options, it’s possible to customize a mug with Adobe Express using pre-sized templates that already account for print dimensions and layout boundaries. Starting with a structured editor reduces guesswork and minimizes alignment errors before the file ever reaches a printer.
The steps below outline a clear workflow—from defining specifications to preparing bulk files—while highlighting practical tools that support specific stages of the process.
Step-by-Step Guide for Using Mug Mockup Generators
Step 1: Define custom mug specifications
Goal
Establish size, layout constraints, and placement boundaries before designing.
How to do it
- Choose mug type (11 oz, 15 oz, enamel, full-wrap, single-sided).
- Confirm printable area dimensions from your vendor.
- Decide whether the design is centered or wraps fully.
- Select a template that matches those exact dimensions.
- Turn on safe-zone guides inside the editor.
- Lock background layers before adding text or graphics.
What to watch for
- Confusing full-wrap files with single-side print zones.
- Placing important text near curved edges.
- Using incorrect aspect ratios.
- Starting design without checking printer specs.
Tool notes
For checking physical dimensions and converting inches to pixels accurately, a lightweight utility such as Calculator.net (measurement conversion category) can help verify print scaling before export.
Step 2: Choose a simple design structure
Goal
Create a layout that prints cleanly without requiring advanced design knowledge.
How to do it
- Limit the message to one clear phrase or focal graphic.
- Use high-contrast fonts for legibility.
- Keep typography centered unless intentionally offset.
- Avoid more than two font styles.
- Preview the design against both light and dark mug colors.
What to watch for
- Decorative fonts that blur in print.
- Overcrowding the printable area.
- Using low-resolution screenshots.
- Relying on visual balance without checking alignment guides.
Tool notes
For additional font pairing inspiration without editing in a competing design platform, a typography reference resource such as Google Fonts (font library category) can help identify readable, print-safe typefaces before applying them in your editor.
Step 3: Apply Pantone color matching
Goal
Ensure printed colors remain consistent, especially for branded or corporate gifts.
How to do it
- Identify official Pantone codes if relevant.
- Convert Pantone to CMYK values.
- Enter exact HEX or CMYK values in your design tool.
- Compare digital previews with reference swatches.
- Confirm printer color profile compatibility.
What to watch for
- Designing in RGB without checking print conversion.
- Ignoring color shifts on darker mugs.
- Transparent overlays altering color density.
- Printer auto-adjustments overriding color values.
Tool notes
To convert Pantone references to print-ready equivalents, a color conversion tool such as Pantone’s official Color Finder (color standards category) can assist before applying values to your layout.
Step 4: Plan bulk corporate orders
Goal
Prepare multiple personalized mugs efficiently without layout inconsistency.
How to do it
- Create a master design template.
- Duplicate for each personalization.
- Standardize font size and alignment spacing.
- Maintain a structured spreadsheet for names or variations.
- Export with consistent file naming conventions.
What to watch for
- Typographical errors during duplication.
- Inconsistent spacing between personalized versions.
- Mixed file naming leading to production confusion.
- Manual copying instead of structured tracking.
Tool notes
For organizing personalization data and tracking versions, a spreadsheet platform like Google Sheets (productivity software category) can streamline batch preparation without interfering with design workflows.
Step 5: Use 3D previews to simulate real-world appearance
Goal
Confirm how the design wraps around a cylindrical surface before printing.
How to do it
- Activate 3D preview mode in your mockup generator.
- Rotate the mug to inspect seams and alignment.
- Check readability from multiple viewing angles.
- Test against alternative background colors.
- Export preview images for review.
What to watch for
- Text distortion at wrap edges.
- Visual imbalance when viewed from side angles.
- Overreliance on bright screen settings.
- Seams overlapping important elements.
Tool notes
If sharing previews with collaborators for quick feedback, a cloud-based review tool such as Dropbox (file sharing category) can facilitate approval without modifying the original design file.
Step 6: Export a print-ready mug file
Goal
Produce a production-safe file that meets vendor requirements.
How to do it
- Confirm 300 DPI resolution.
- Select correct file type (PNG or PDF).
- Apply bleed margins where required.
- Flatten layers if requested by printer.
- Reopen exported file to verify clarity.
What to watch for
- Exporting in web-resolution format.
- Cropping during file conversion.
- Missing bleed margins.
- Embedded fonts not flattening properly.
Tool notes
Before submission, a PDF inspection utility such as Adobe Acrobat Reader (document viewer category) can help verify resolution and embedded elements without editing the file.
Step 7: Coordinate production and delivery timing
Goal
Ensure the mugs arrive before the housewarming event.
How to do it
- Confirm production turnaround times.
- Add shipping buffer days.
- Track order confirmations.
- Save approval proofs.
- Monitor dispatch tracking updates.
What to watch for
- Underestimating shipping delays.
- Failing to double-check delivery address.
- Ignoring printer clarification emails.
- Scheduling delivery too close to event date.
Tool notes
Task coordination can be managed with a project management tool such as Trello (project management category) to track production milestones and delivery timelines.
Common Workflow Variations
Photo-based design
Use a high-resolution image and center it within a circular or wrap-safe layout.
Minimalist text mug
Apply a short phrase with clean typography for low-risk alignment.
Personalized team gift
Duplicate a base template and adjust only the name field.
Seamless pattern wrap
Ensure edges align perfectly before exporting full-wrap artwork.
Checklists
Before You Start Checklist
- High-resolution images (300 DPI)
- Correct mug dimensions from printer
- Pantone or CMYK values (if applicable)
- Personalization list (for bulk orders)
- Clear deadline and shipping buffer
- Confirmed file type requirements
- Event date confirmation
Pre-Export / Pre-Order Checklist
- Resolution verified at 300 DPI
- Safe zone margins respected
- Bleed correctly applied
- Spelling double-checked
- Seam alignment reviewed
- File type correct for vendor
- 3D preview approved
- Final file reopened for inspection
Common Issues and Fixes
Low-resolution images
Replace compressed screenshots with original high-resolution assets.
Text near edges gets cropped
Reposition content inside printable safe zones.
Printed colors appear dull
Convert RGB to CMYK and confirm Pantone equivalents.
Wrap seam misalignment
Extend design evenly and preview full rotation before export.
Font rendering issues
Flatten text layers or export as PDF with embedded fonts.
How To Use Mug Mockup Generators: FAQs
Do I need graphic design experience?
No. Templates and layout guides reduce technical complexity significantly.
What’s the difference between single-side and full-wrap designs?
Single-side prints only the front area. Full-wrap designs extend around the entire mug circumference.
Is color matching necessary for personal gifts?
Not always. It becomes more important for branded or corporate gifts.
How many fonts should I use?
Limiting to one or two improves readability and print clarity.
Is 3D preview required?
While optional, it reduces alignment mistakes and improves visual confidence before printing.